Showing posts with label Mini Album. Show all posts

Thursday, December 19, 2013

Once upon a time...

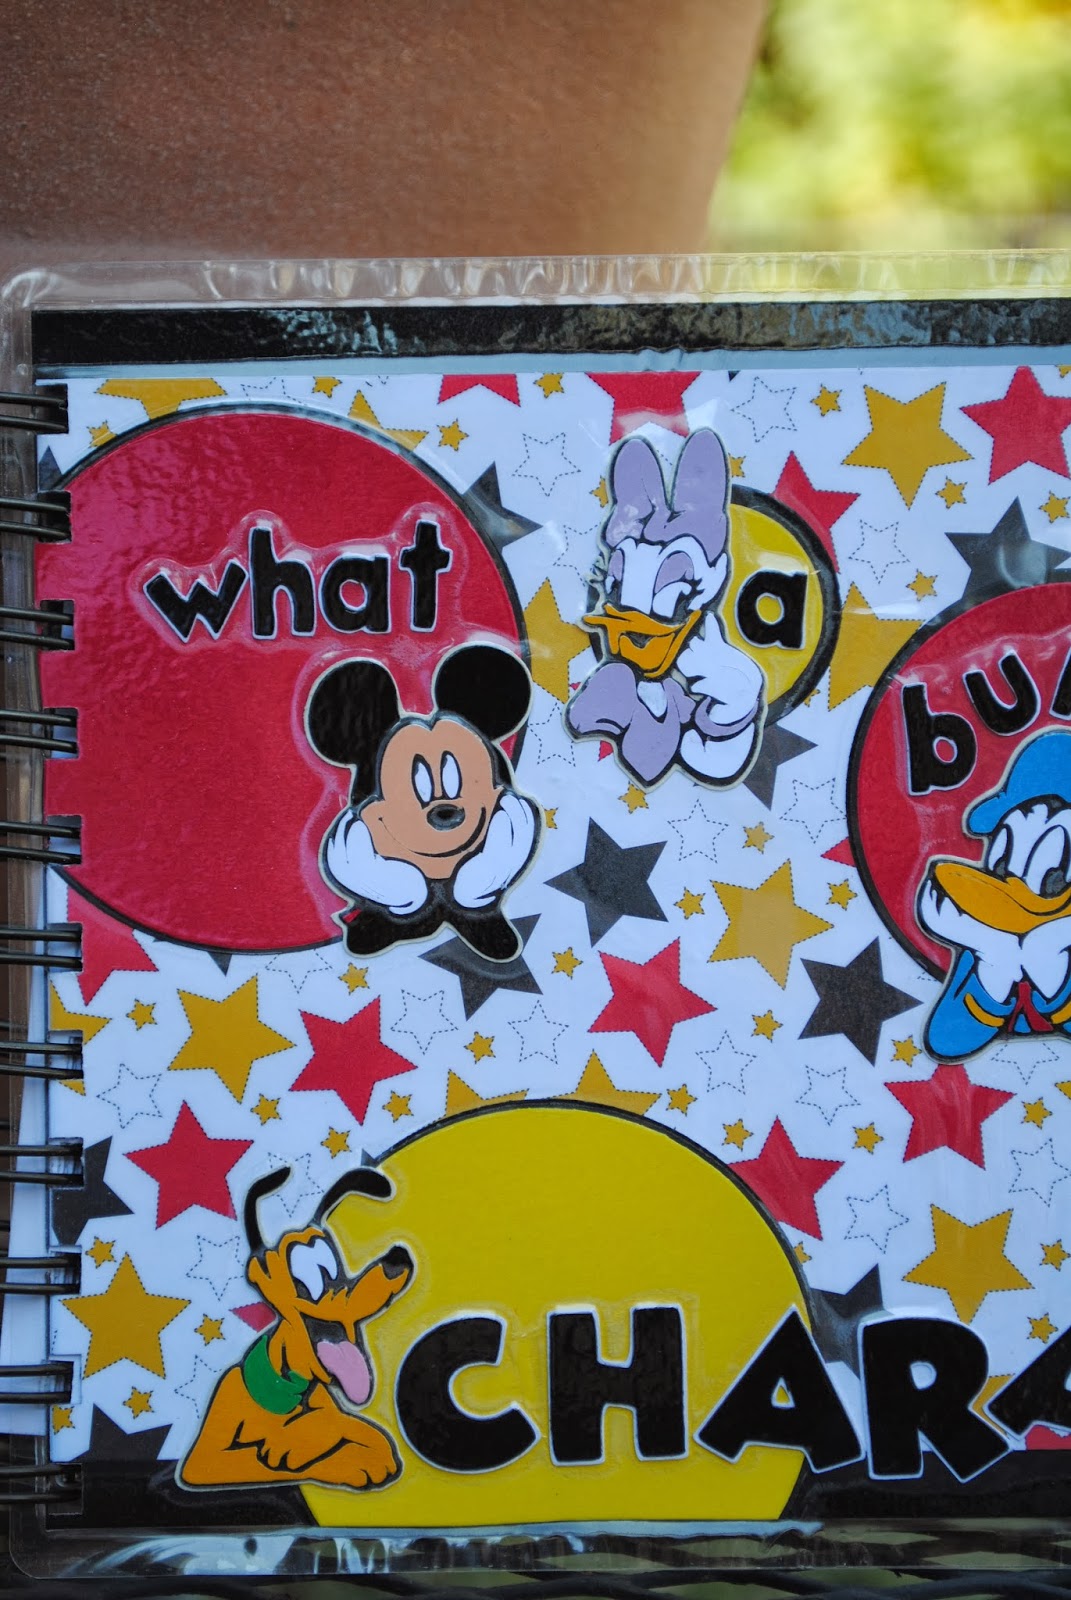
...there was an awesome sorority sister that was headed to Disney World with her family. She asked me if I would be willing to decorate the cover of the SmashBook that she had purchased to keep up with their daily memories. Hum, let me think...of course!! (All these ideas are adapted from ones I found on Pinterest. Check out my "Future Disney Trip" board to find the originals, please.)


I broke out the Cricut Disney Font cartridge to create my characters and the stickers (she sent those to me) were used to finish the title.


Then I asked her if I could make her two boys some autograph books. She allowed me to do that project as well. :) This was my first time using my Purple Cow laminater and I didn't realize that I should have been paying closer attention to the thickness of my project. Around the characters the laminate didn't meet the base of the cover. This is going to drive me batty so I asked Em, if she wanted me to, if I could redo the covers when they get home.


Then I just had to make her a special something. I figure people will want to see pictures so I made her this little brag book that she can put her favorites in and throw in her purse. Or her boys can take to school. Or her husband can take to work. Or whatever.


I hope that you have an awesome time in Disney World and I can't wait to hear all about it!!

Have you been to a Disney park yet? Any advice for a first-timer?

Thanks for looking. Hope this finds you happy and healthy!

Tuesday, October 22, 2013

"Mini" Rainbow Mini Album

The popularity of my Rainbow Mini has inspired me to create a smaller, simpler version. This version measures 5 by 7 inches and is bound with 1 inch silver O-wires.


Here are the inside pages with the last page showing an example of what the page will look like with a 4 by 6 picture.

Inside front cover and first page


Back page and inside of back cover
Example of the space a picture would take up
Personalizing the cover and a card will also be included in the purchase of this mini album.


You can find this "Mini" Rainbow Mini Album in my Zibbet store. The link is in the top bar. HERE is the video if you would like to see it in "person". :)

Thanks for looking! I hope this finds you happy and healthy.

Tuesday, September 24, 2013

December Daily #1 (AKA Don't look, Megan!!)

So, I made this December Daily for my dearest friend Megan. She works hard for her family and hasn't had the time in years past to keep up with the mini album. I figure, if I give her the bare bones, she can add pictures and a few embellishments and make it her own. And be able to keep up with it.

I have had this Teresa Collins 'Noel' kit FOREVER. I'm such a hoarder when it comes to beautiful collections like this one. Regan gave it to me many moons ago. Thanks again, Regan! :)


I added those awesome Stampin' Up jumbo brads (that they don't sell anymore; *tear*) and ribbon for a closure, should the book need one after the pages begin to fill up.


It was important to me to keep it as simple and easy to use as possible so I went with a 'smash book' style mini album. I added lots of pages in different sizes, as well as pockets, tags, and acetate pages. I embellished nothing; that's Meg's job. :)


I am including some die-cuts and the decorative 12 by 12 pages that are included in the collection for her to use as she sees fit. I also plan to throw in some ribbon, chipboard pieces, and charms.


I hope this helps her, this holiday season, capture the memories without taking time away from making them.

Thanks for looking! Hope this finds you happy and healthy.

One of my absolute favorite pictures of us.

June 2006

Tuesday, August 20, 2013

"School Days" Mini Album

I have been making so many cards lately and, as much fun as I'm having, I am really missing making my minis. So I switched creative gears and created this mini in honor of school starting on Monday. Only 7 more sleeps, but who's counting?

I started with a 6.5 by 6.5 inch paper pad from Kaisercraft called "The Class of '87". Love it. I can't remember where I found it but there was nothing to go with it, no stamp,stickers, rub-ons, chipboard, nada. The great thing was that this pack (and I think all Kaisercraft pads have this) includes is four sheets of diecuts in the back. Love it when a paper pad comes with built-in embellishments. More bang for your buck, I think.

I had to cut my own custom mini book for these pages because of that extra half inch. I just didn't want to cut every single page and lose the cool prints. I re-purposed cereal boxes for that job. After choosing where all my papers would go I adhered them down and roughed up the edges with my sand paper before inking them up with Walnut Stain distress ink.


I used brown tulle from my stash as well as some ABC twill ribbon on the binder rings. Created a mini clasp with charms that you can find in my Zibbet shop HERE.


On the cover, I used my favorite felt letters. Cut out the star (stars, I cut three to create dimension) from Kraft cardstock, inked the edges, and used a diecut in the middle. I intend to put the teacher/student's name in the ruler (another diecut) with my old school label maker.


I tried to add pages that were different. Different sizes and textures. I used two pages that were half the size of the originals, one page made of acetate, and another that is made from an envelope. I didn't create photo mats for every page either. I'll do the final touches when I decide where it's going.

I used some of the border strips and created a pocket so that I didn't have to cover up the paper. Tags are made with the designer paper and SU Real Red cardstock mounted on Kraft.


I used a Martha Stewart border punch as a belly band to hold those tags in place. Here is the first half page as well. More SU tags using Bashful Blue, Elegant Eggplant, and Only Orange (?).


Acetate is so fun to work with and I love the challenge of figuring out how to keep my adhesive covered. Large photo mat is created using a 6.25 x 4.25 piece of SU Crushed Curry popped up on foam dots with two Kraft tags tucked beneath.


Second half page tied up with ruler twine to offer a place to tuck special notes and such. Same photo mat as the last page but with SU Wild Wasabi, one of my favs.


The envelope page that I completely forgot to take pictures of the tags inside. You can see that in the video HERE. (same ones that I used in the Rainbow Mini)


Love the multiplication and counting charts!


Some of my favorite things about doing projects like this are the small details. Like Glossy Accents and strategically placed cuteness.


Thanks for looking! Hope this finds you happy and healthy.