Showing posts with label Envelope. Show all posts

Thursday, March 12, 2015

Celebration Penguin parties.


This is an envelope I made for our color challenge over on our 300th celebration challenge, going on now. 


I used the die set from Stampin' Up to cut out my envelope, which fits a gift card perfectly. I embossed it with my Cuttlebug Swiss Dots folder and assembled it. I colored up Celebration Penguin from 2 Cute Ink with Prismacolor pencils and cut him out with my Nestabilities circle dies. I used the sentiment, stamped in Versafine Black Onyx ink, from the Your Next Stamp set called Silly Monsters.


These days, I only seem to give gift cards so this will come in handy for the next birthday, boy or girl!

You can join in the fun by clicking on the cupcake to be taken straight to the challenge. Hurry, time's running out.


Thanks for looking! I hope this finds you happy and healthy.

I would like to enter this project into the following challenges:


Friday, June 21, 2013

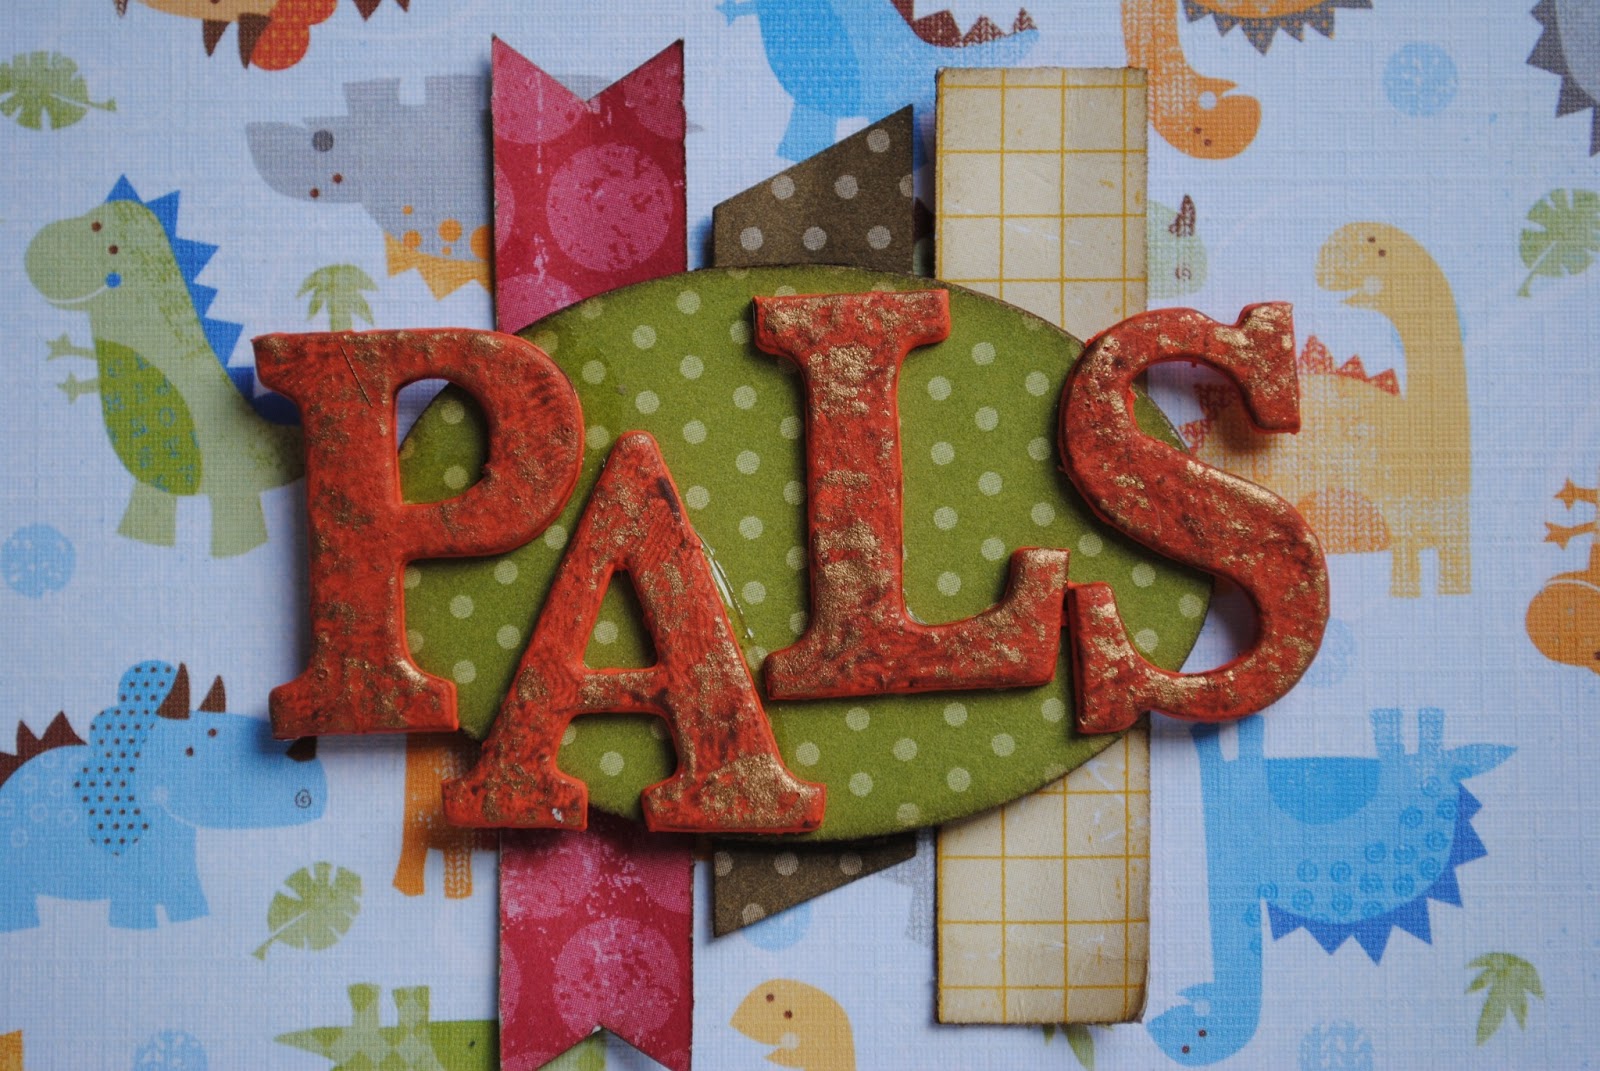
Pals Mini Album

I made this mini album from the Baby Saurus envelope kit by Little Yellow Bicycle. I have had it awhile because, when I bought it Archivers, I didn't notice that the chipboard covers were WAY too small for the envelopes. Realizing it was too late to return them to the store, I set the too-small covers to the side, made my own, and finished the mini. I made this for our cousin in Wisconsin that we visit every summer. Thought it would be fun to put pictures of his toys or him and his toys or him and friends (or us!) or really whatever. I didn't do a whole lot of embellishing (or really any embellishing) because I didn't want there to be little pieces possibly coming off and into little hands.


I did, however, paint and distress the letters for the title. Still not sure if I like them. First I covered them in a custom orange I mixed from acrylic paints. That was too bright and didn't match like I wanted in to. So I added brown paint with my finger in small swipes. They still needed something so I repeated the step with Antique Gold Rub'N'Buff. Wiped off as much as I could and there is the final product.


I also created the title layers with some left over Stampin' Up Simply Stampin' Kit (that I have no idea what the name was) scraps. Roughed them up a little by carefully crumpling and then smoothing out. I also only adhered them in the center so that the ends would stand up from the cover a bit. I punched five ovals from kraft cardstock, along with one from the scraps of design paper and glued them together, creating a little dimension.

I inked the hole reinforcers (came with the kit) with Shabby Shutters and Peeled Paint Distress Inks.


Thanks for stopping in! Hope this finds you happy and healthy.